

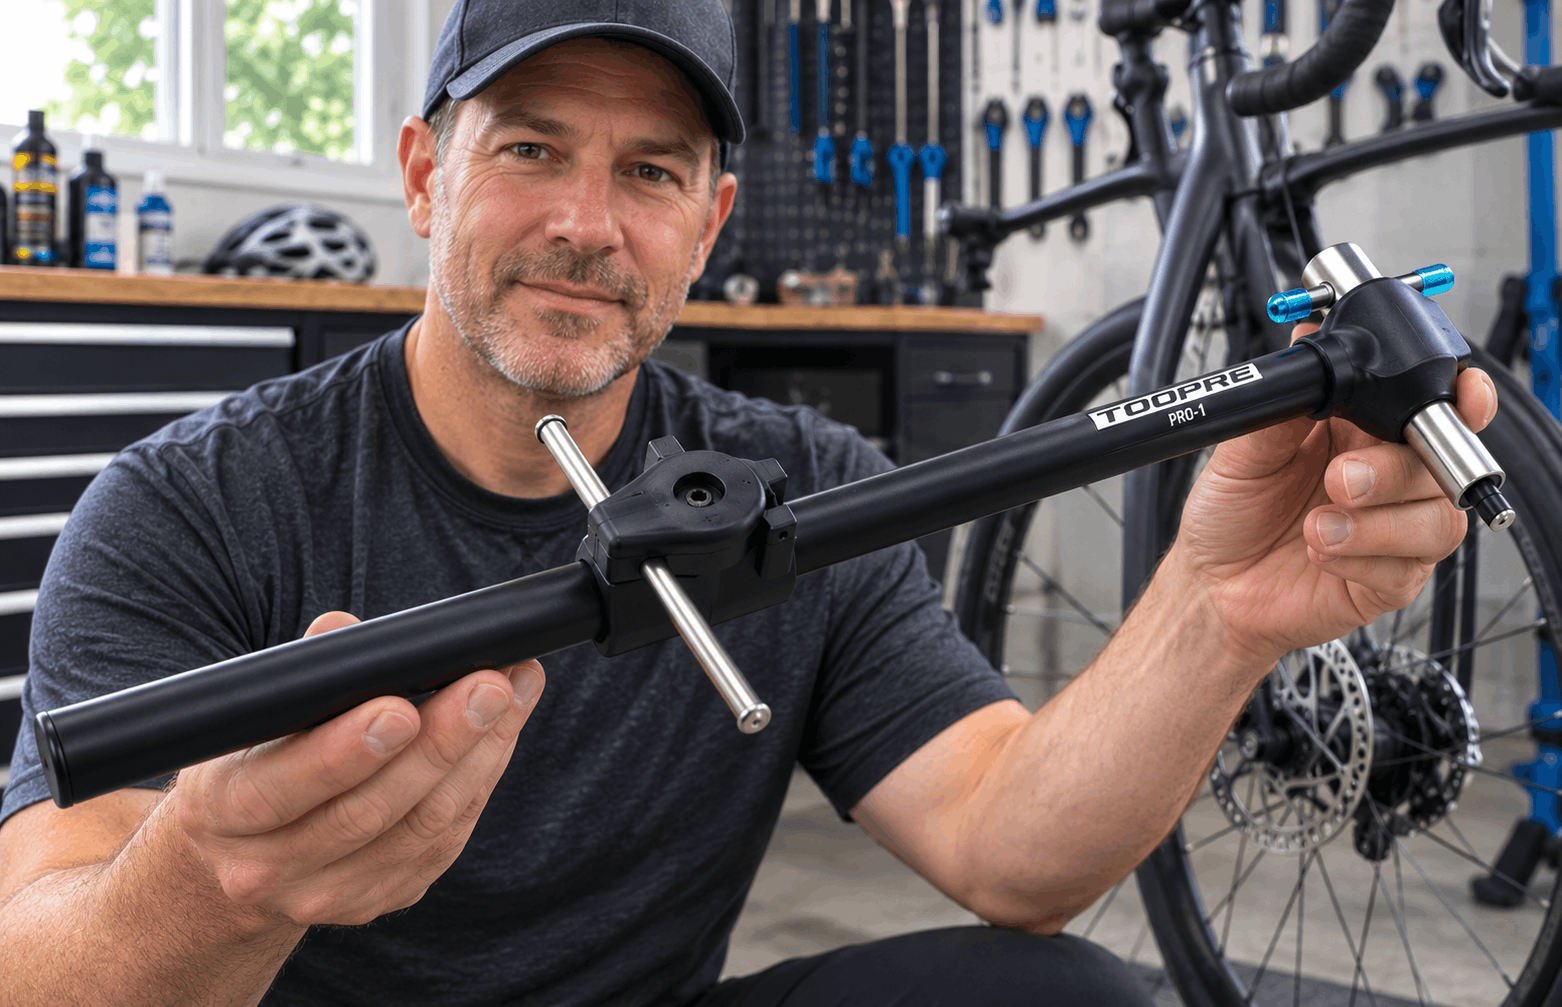
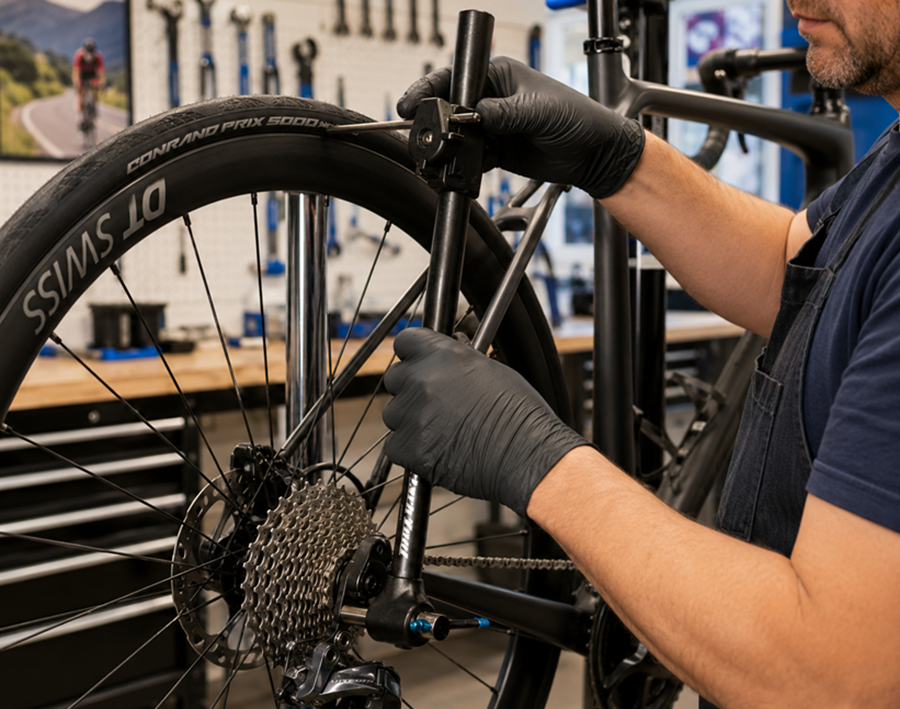
| Quick Answer: Your derailleur hanger is bent if the rear derailleur shifts poorly in one direction, hesitates going into the largest cogs, or if the derailleur cage is visibly not parallel to the cassette when viewed from behind. A hanger alignment gauge measures the hanger against the rim at four points and tells you exactly how far out it sits. Most bent hangers can be bent back to true in about ten minutes, and it is worth checking any time your shifting degrades after a crash, a tip-over, or shipping the bike. |
By James Hickman, former USA Cycling Expert-level coach and Masters-category racer
Amazon Affiliate I earn from qualified purchases
Almost every rider who tells me their shifting has “gone bad” starts by adjusting the barrel adjuster. They add a quarter turn, then another, then back it off, and after twenty minutes the bike shifts worse than when they started. The cable was never the problem. The hanger was.
The derailleur hanger is a small aluminum bracket that connects your rear derailleur to the frame. On almost every modern bike it is designed to be the sacrificial part — it is deliberately softer than the frame and softer than the derailleur, so that when the bike goes down, the hanger bends instead of something expensive cracking. That design works exactly as intended, which is why hangers bend constantly and why nobody notices.
How a Hanger Gets Bent Without You Knowing
You do not need a crash. The three most common causes I see are a bike tipping over in a parking lot onto its drive side, a bike falling in a garage or against a wall, and shipping or air travel with the derailleur still attached. Another subtle way is leaning it against a very hard object. This one is somewhat unlikely but if done frequently, it could bend it slightly off from midline. None of those feel like damage at the time. A tip-over from a standstill is enough to move a hanger a few millimeters out of plane, and a few millimeters at the hanger becomes a great deal of misalignment out at the cassette.
The other cause worth knowing: overtightening. If a hanger has been removed and reinstalled, or if a thru-axle has been cranked down hard against a hanger that was not seated properly, it can sit slightly twisted from the day it went on.
The Symptoms That Point at the Hanger
A bent hanger produces a specific pattern, and once you know the pattern it is hard to miss. Shifting is noticeably worse in one direction than the other. The derailleur hesitates or refuses to climb into the two largest cogs, or it overshoots and rubs going the other way. Indexing that used to hold now drifts out after a ride or two no matter how carefully you set the cable tension. And critically, the problem does not scale evenly across the cassette — it is fine in the middle and bad at one end.
Contrast that with a cable problem, which typically degrades everything at once and gets progressively worse over weeks as the housing contaminates. If your shifting went bad suddenly, or went bad at one end of the cassette only, look at the hanger first.
The Two-Minute Visual Check
Stand behind the bike, crouch down, and look forward along the plane of the rear wheel. The derailleur cage — the section holding the two jockey wheels — should hang parallel to the cassette cogs and parallel to the wheel itself. If the cage tilts inward toward the spokes at the bottom, or leans outward, the hanger is bent.
This check catches the obvious cases. It will not catch a hanger that is out by two or three millimeters, and two or three millimeters is more than enough to ruin your shifting. For that you need to measure.
Measuring It Properly
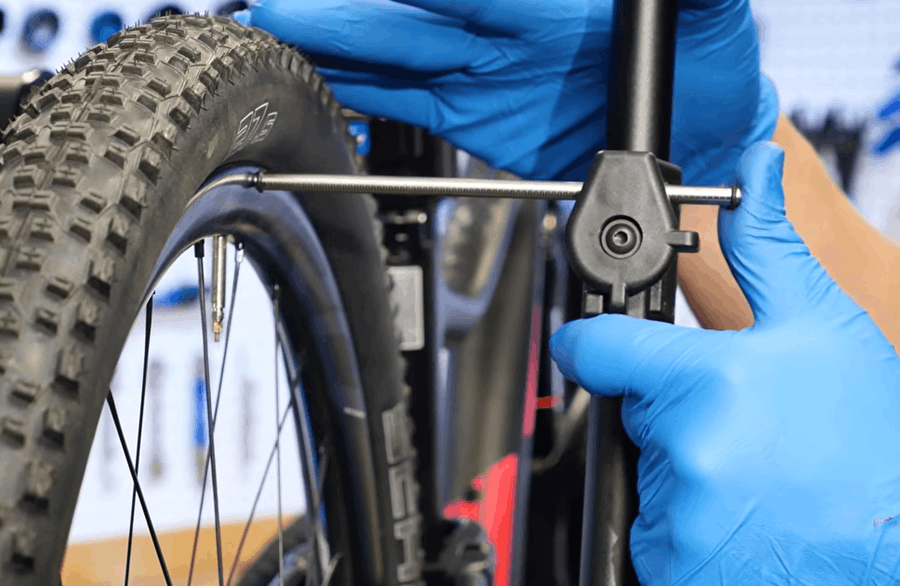
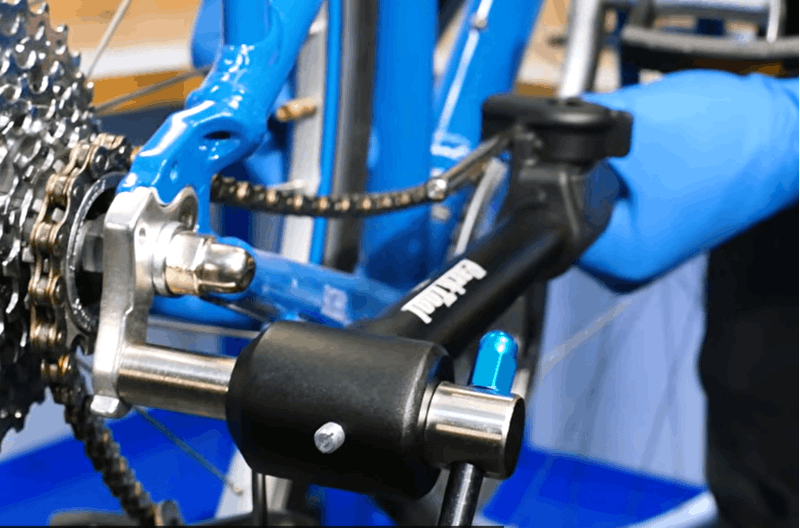
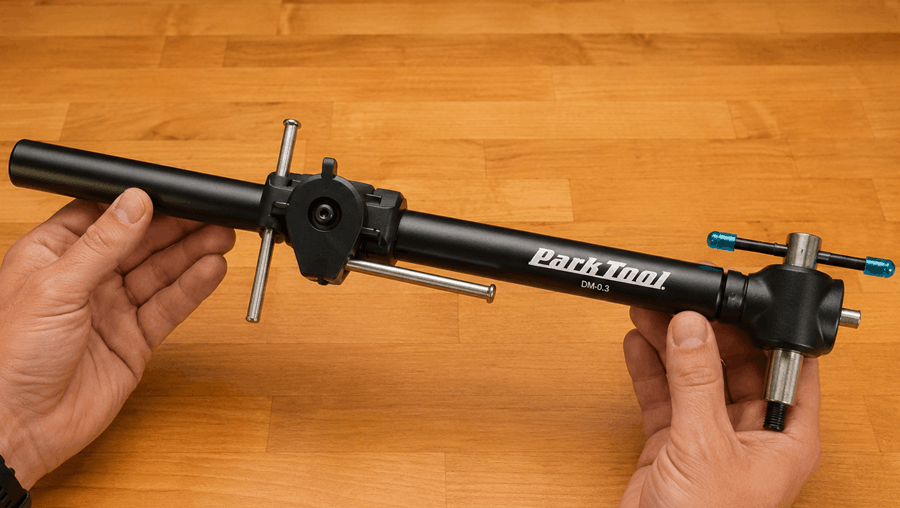
A hanger alignment gauge threads into the hanger where the derailleur normally mounts and extends a long arm out to the rim. You rotate the arm to four positions around the wheel — roughly 12, 3, 6, and 9 o’clock — and measure the gap between the arm’s tip and the rim at each one. On a true hanger, that gap is identical at all four positions. Any variation is the amount your hanger is out, and the direction tells you which way to bend it back.
The tool I use and recommend is the Park Tool DAG-3. It is the shop standard for good reason: the arm is long enough to amplify small errors into readings you can actually see, the gauge tip adjusts so you can zero it against your rim, and the handle gives you enough leverage to make the correction with the tool still mounted. That last point matters more than people expect — measuring and correcting with the same tool, in the same setup, is what keeps you from overshooting.
Bending It Back
Remove the rear derailleur and thread the gauge into the hanger. Set the gauge tip so it just touches the rim at the 12 o’clock position. Rotate to 3 o’clock, then 6, then 9, noting the gap at each. Wherever the gap is largest, the hanger needs to move toward the rim; wherever it is smallest, away.
Make corrections in small, deliberate pulls with the gauge handle, and re-measure after every single one. Aluminum does not give you unlimited attempts — each bend work-hardens the metal a little, and a hanger that has been straightened four or five times is a hanger that is about to snap. Two or three careful corrections should get you within a millimeter across all four points, which is close enough for any drivetrain.
One caution on carbon frames: if your hanger mounts directly to a carbon dropout with no replaceable interface, do not bend it in place. The force goes into the frame. Replace the hanger instead.
When to Replace Instead of Straighten
Replace the hanger outright if it is visibly cracked, if the threads where the derailleur mounts are damaged or stripped, if it has already been straightened several times, or if it is bent far enough that the derailleur contacted the spokes. Hangers are frame-specific and generally cost between fifteen and forty dollars, and it is worth keeping a spare for your bike in your travel kit. There are hundreds of hanger designs and no shop stocks them all — the one you need is never the one on the wall.
Check It Before You Blame Anything Else
Hanger alignment should be the first thing you check when shifting degrades and the first thing you check on any used bike you buy. It should also be part of your routine whenever you rebuild a drivetrain — there is no sense installing a new chain and cassette onto a hanger that is going to chew through the indexing anyway. While you have the drivetrain apart, it is worth running a chain wear gauge through the chain as well, since a worn chain and a bent hanger produce overlapping symptoms and it is common to have both at once.
Frequently Asked Questions About Bent Derailleur Hangers
Can I straighten a derailleur hanger without a tool?
You can bend it back by hand or with an adjustable wrench in an emergency, and roadside that is sometimes the only option. But you are guessing at both the amount and the direction, and it is very easy to overshoot or snap the hanger. Treat a hand correction as a get-home fix, then measure it properly at home.
How often should I check hanger alignment?
Any time the bike goes down, any time it has been shipped or flown, whenever shifting quality changes noticeably, and as part of every drivetrain replacement. There is no mileage-based interval — hangers bend from events, not from wear.
Will a bent hanger damage anything else?
Yes. A misaligned derailleur puts the chain onto the cogs at a poor angle, which accelerates wear on the chain and cassette. In severe cases the derailleur can be pulled into the spokes, which destroys the derailleur, the wheel, and sometimes the hanger and frame together.
Do all bikes have replaceable hangers?
Most modern bikes do. Older steel frames often have the hanger integrated into the dropout, and those can usually be cold-set carefully. A growing number of newer bikes use the UDH standard, which is a single universal hanger design shared across brands and much easier to source.
How much does a shop charge to align a hanger?
Typically twenty to forty dollars as a standalone service, often bundled into a tune-up. The tool pays for itself in a season if you ride more than one bike or travel with yours.

James Hickman is a former USA Cycling Expert-level coach who has worked with cyclists at every level, from beginners to competitive racers. He served as a coach for the Leukemia & Lymphoma Society’s Team In Training program, helping riders prepare for and complete century events. A Masters-category racer himself, he competed and earned podium finishes in Southern California events and holds a Platinum finish at El Tour de Tucson, completing the 100 miles+ in under five hours.
Sponsored · Competitive Cyclist
We are an Amazon affiliate and earn from qualified Amazon purchases with no cost to you. This is for ANY product that you purchase through our links. We are also an affiliate for Competitive Cyclist and JensonUSA. This way we can provide you with competitive pricing and products.